Create and manage DIDs in the Truvera Wallet
Create a DID
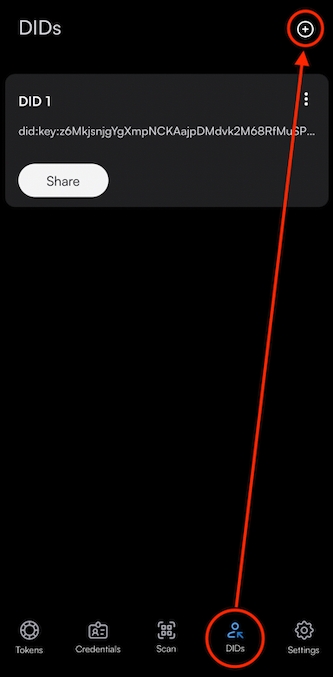
Select DIDs at the bottom of your wallet and click on the + sign on the top right of the screen.
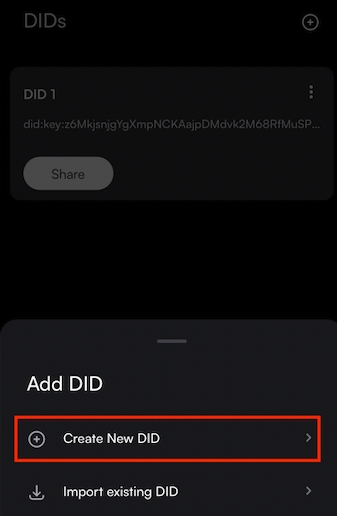
Select Create New DID.
Choose a DID type.
DID:dock requires DOCK token to create. DID:key is free to create.
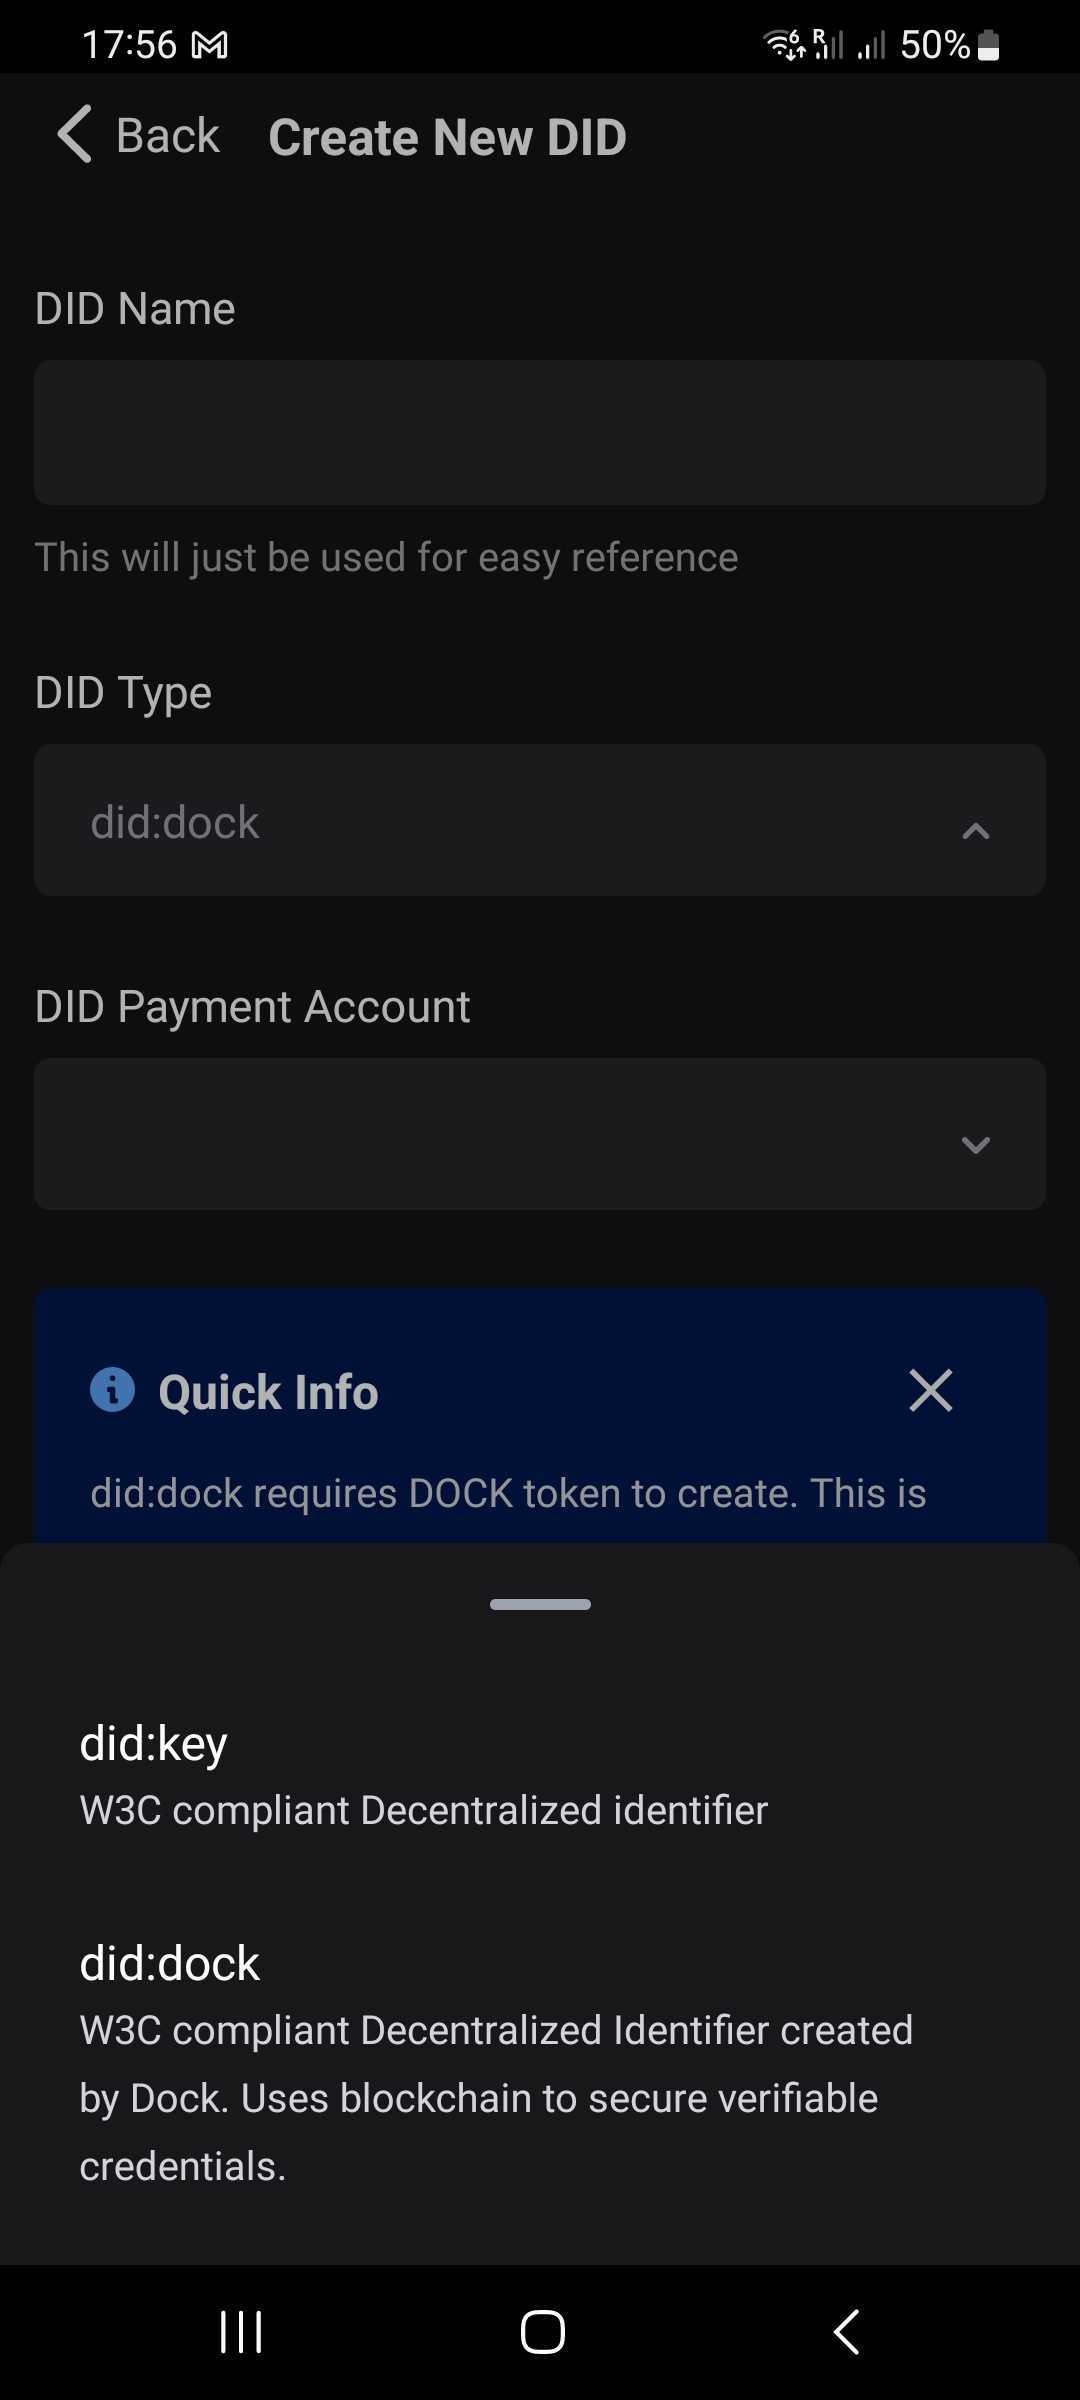
If you select did:dock. Name your DID and select the DID Payment Account. If you have multiple accounts, you will see an extra field on this screen for you to choose which account to use to pay for the DID.
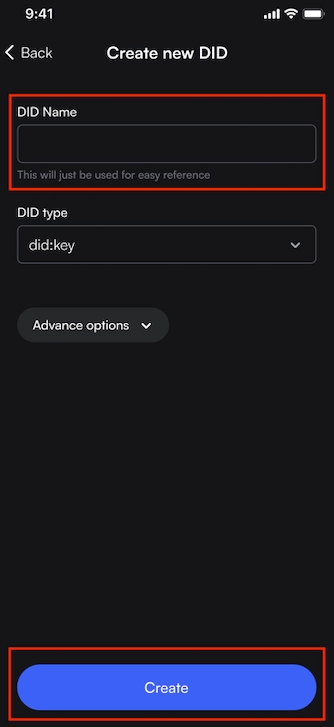
Name your DID e.g. Work, University, IDs etc. and select Create.
Export a DID
Click on the three dots of the DID you want to export and click Export DID.
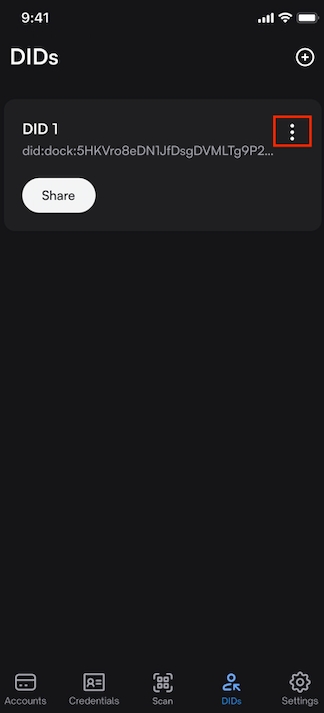
Create a password and choose where you want to send your DID.
Import a DID
If your DID was created somewhere else like Truvera Workspace, you can export a DID and later import it into the Truvera Wallet.
Click on the three dots of the DID you want to import and click Import existing DID.
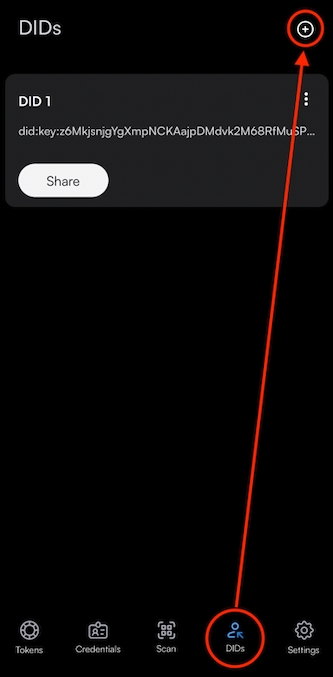
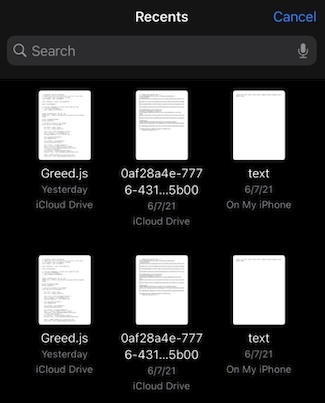
Select the DID JSON file. Enter the password that is protecting the DID and your new DID will be automatically imported.
Edit/ Delete a DID
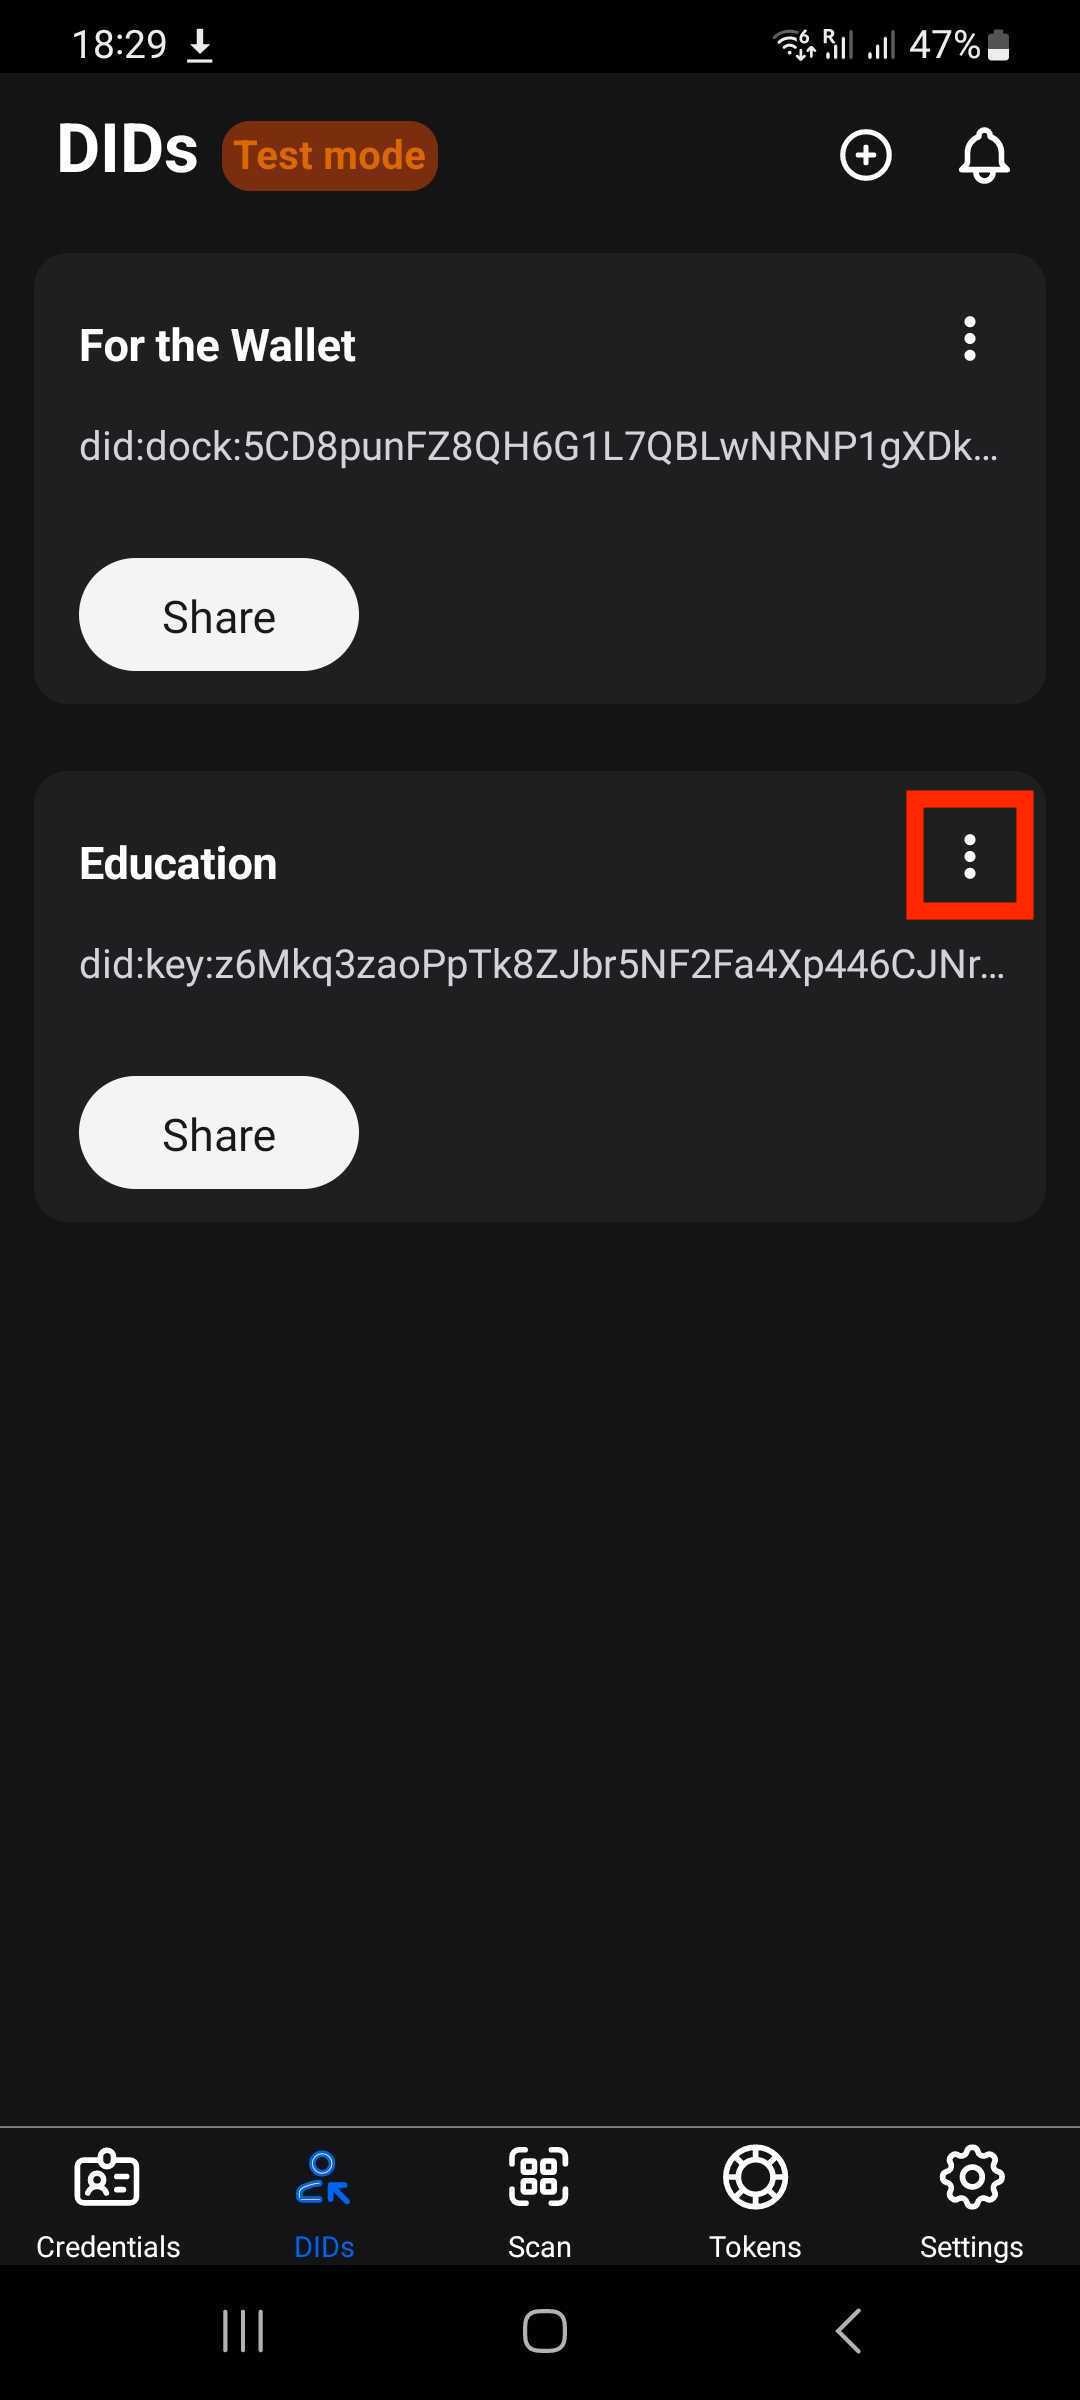
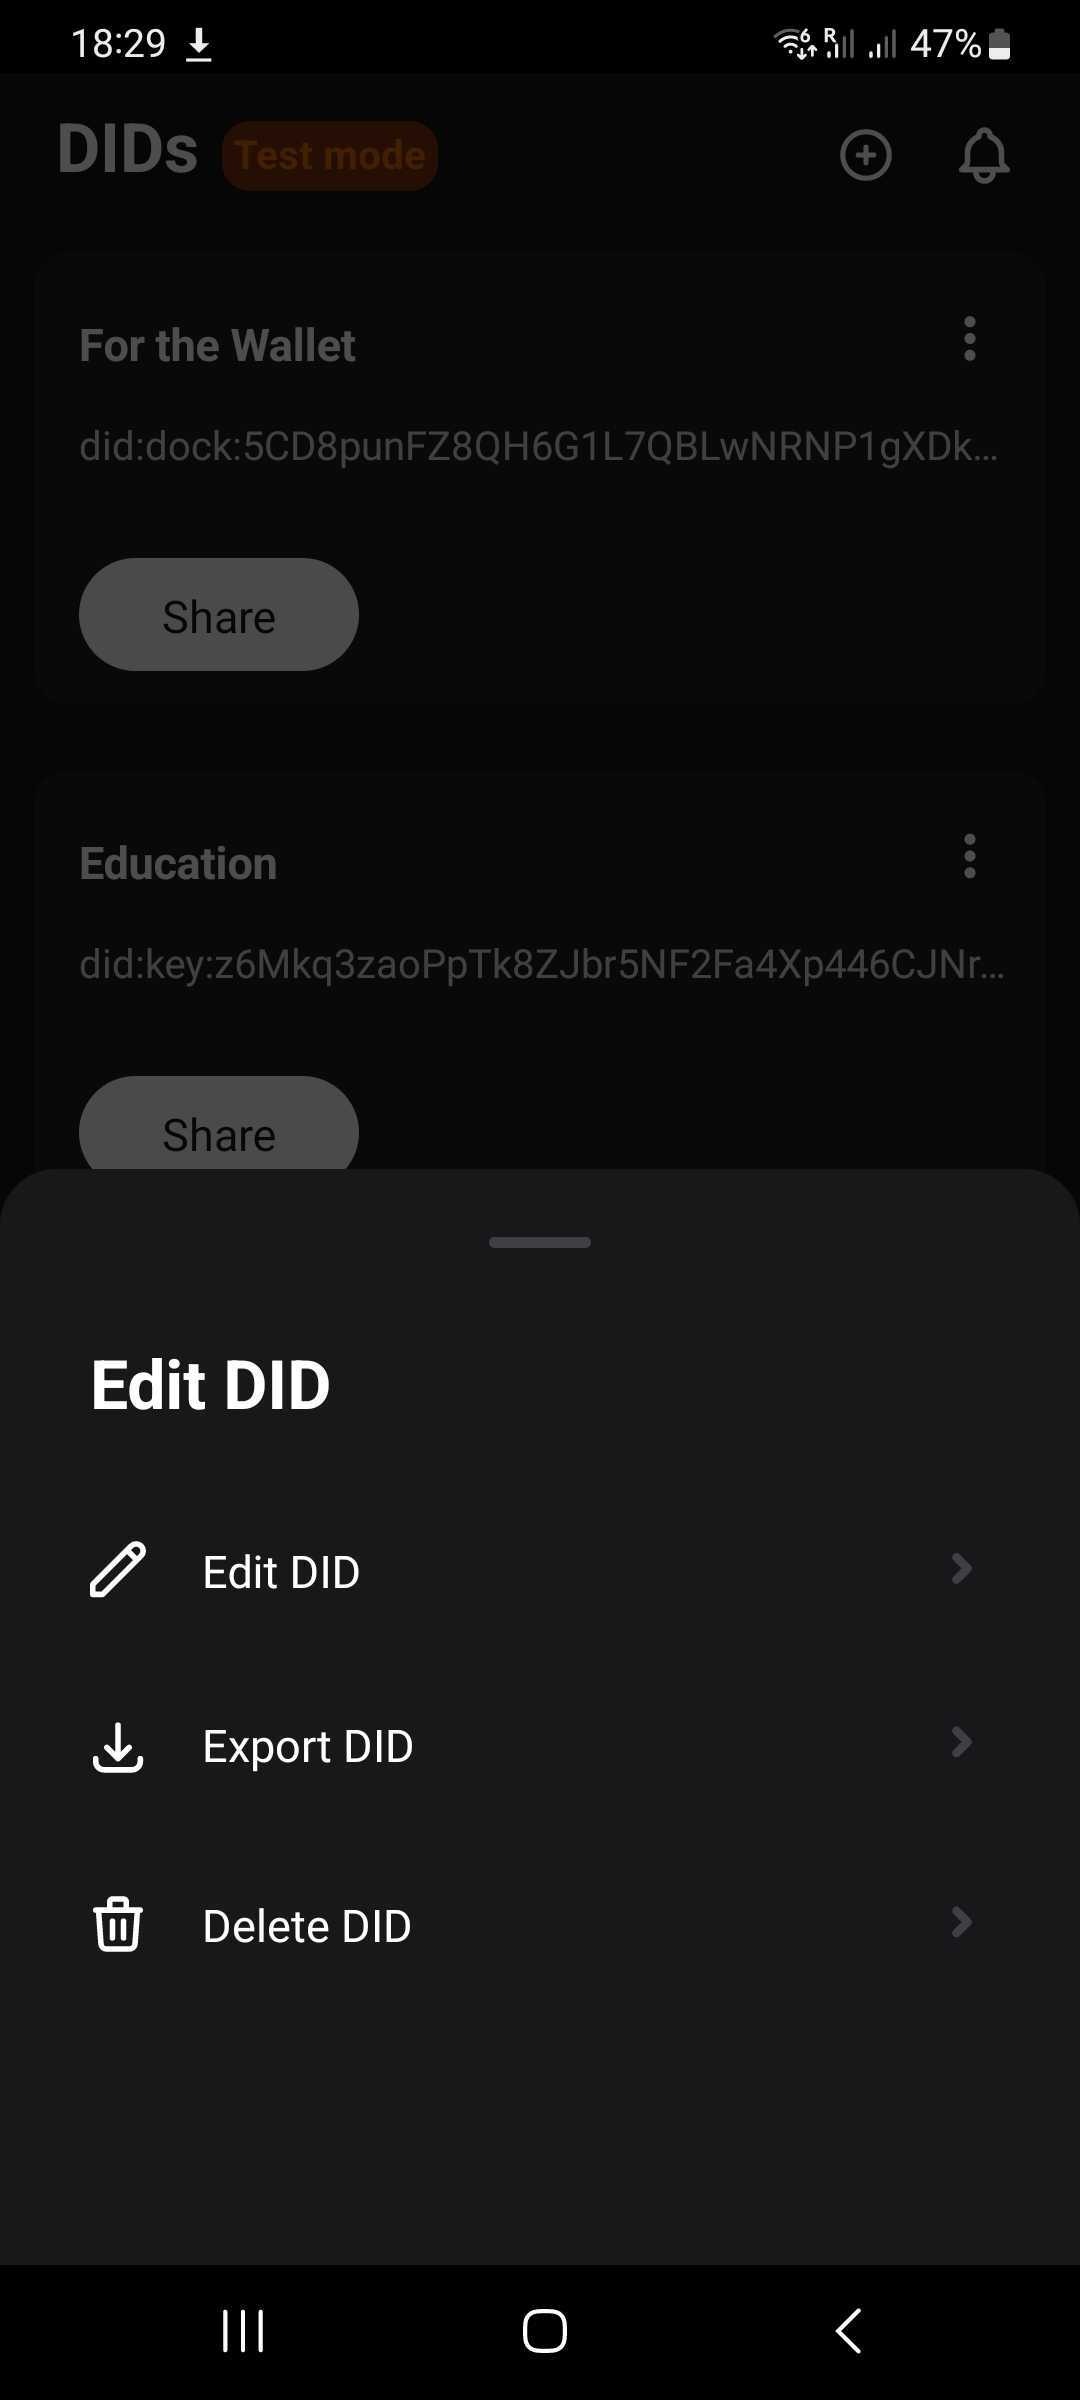
Select the three dots for the DID you want to edit or delete and select Edit DID or Delete DID.
Copy/Share a DID
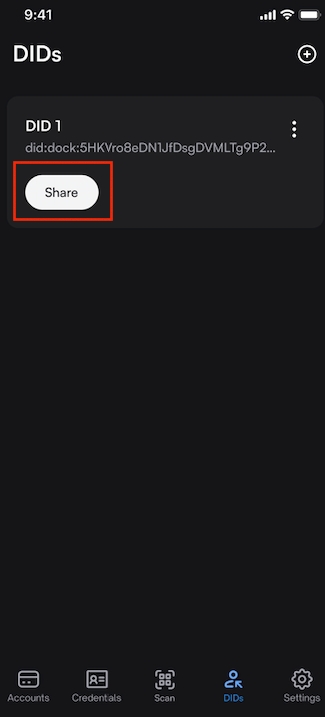
Click Share.
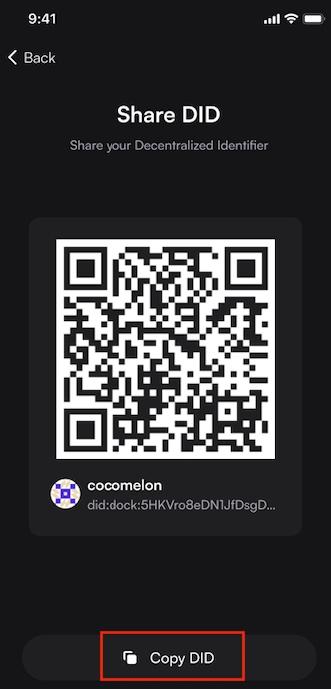
Copy the DID and share it where you want.
Last updated
Was this helpful?